How-to guide
How to set up KeaBudget in 10 minutes
The five setup steps after you sign up: what each one asks, what to put in, and what you can skip and come back to later.
Updated 3 November 2026
Before you start
- A KeaBudget account. Signing up is free.
- Roughly what's in your everyday account today, for its opening balance.
- Optional: a rough idea of your big yearly bills (rego, rates, insurance).
- Optional: a CSV export from your bank. You can bring one in later.
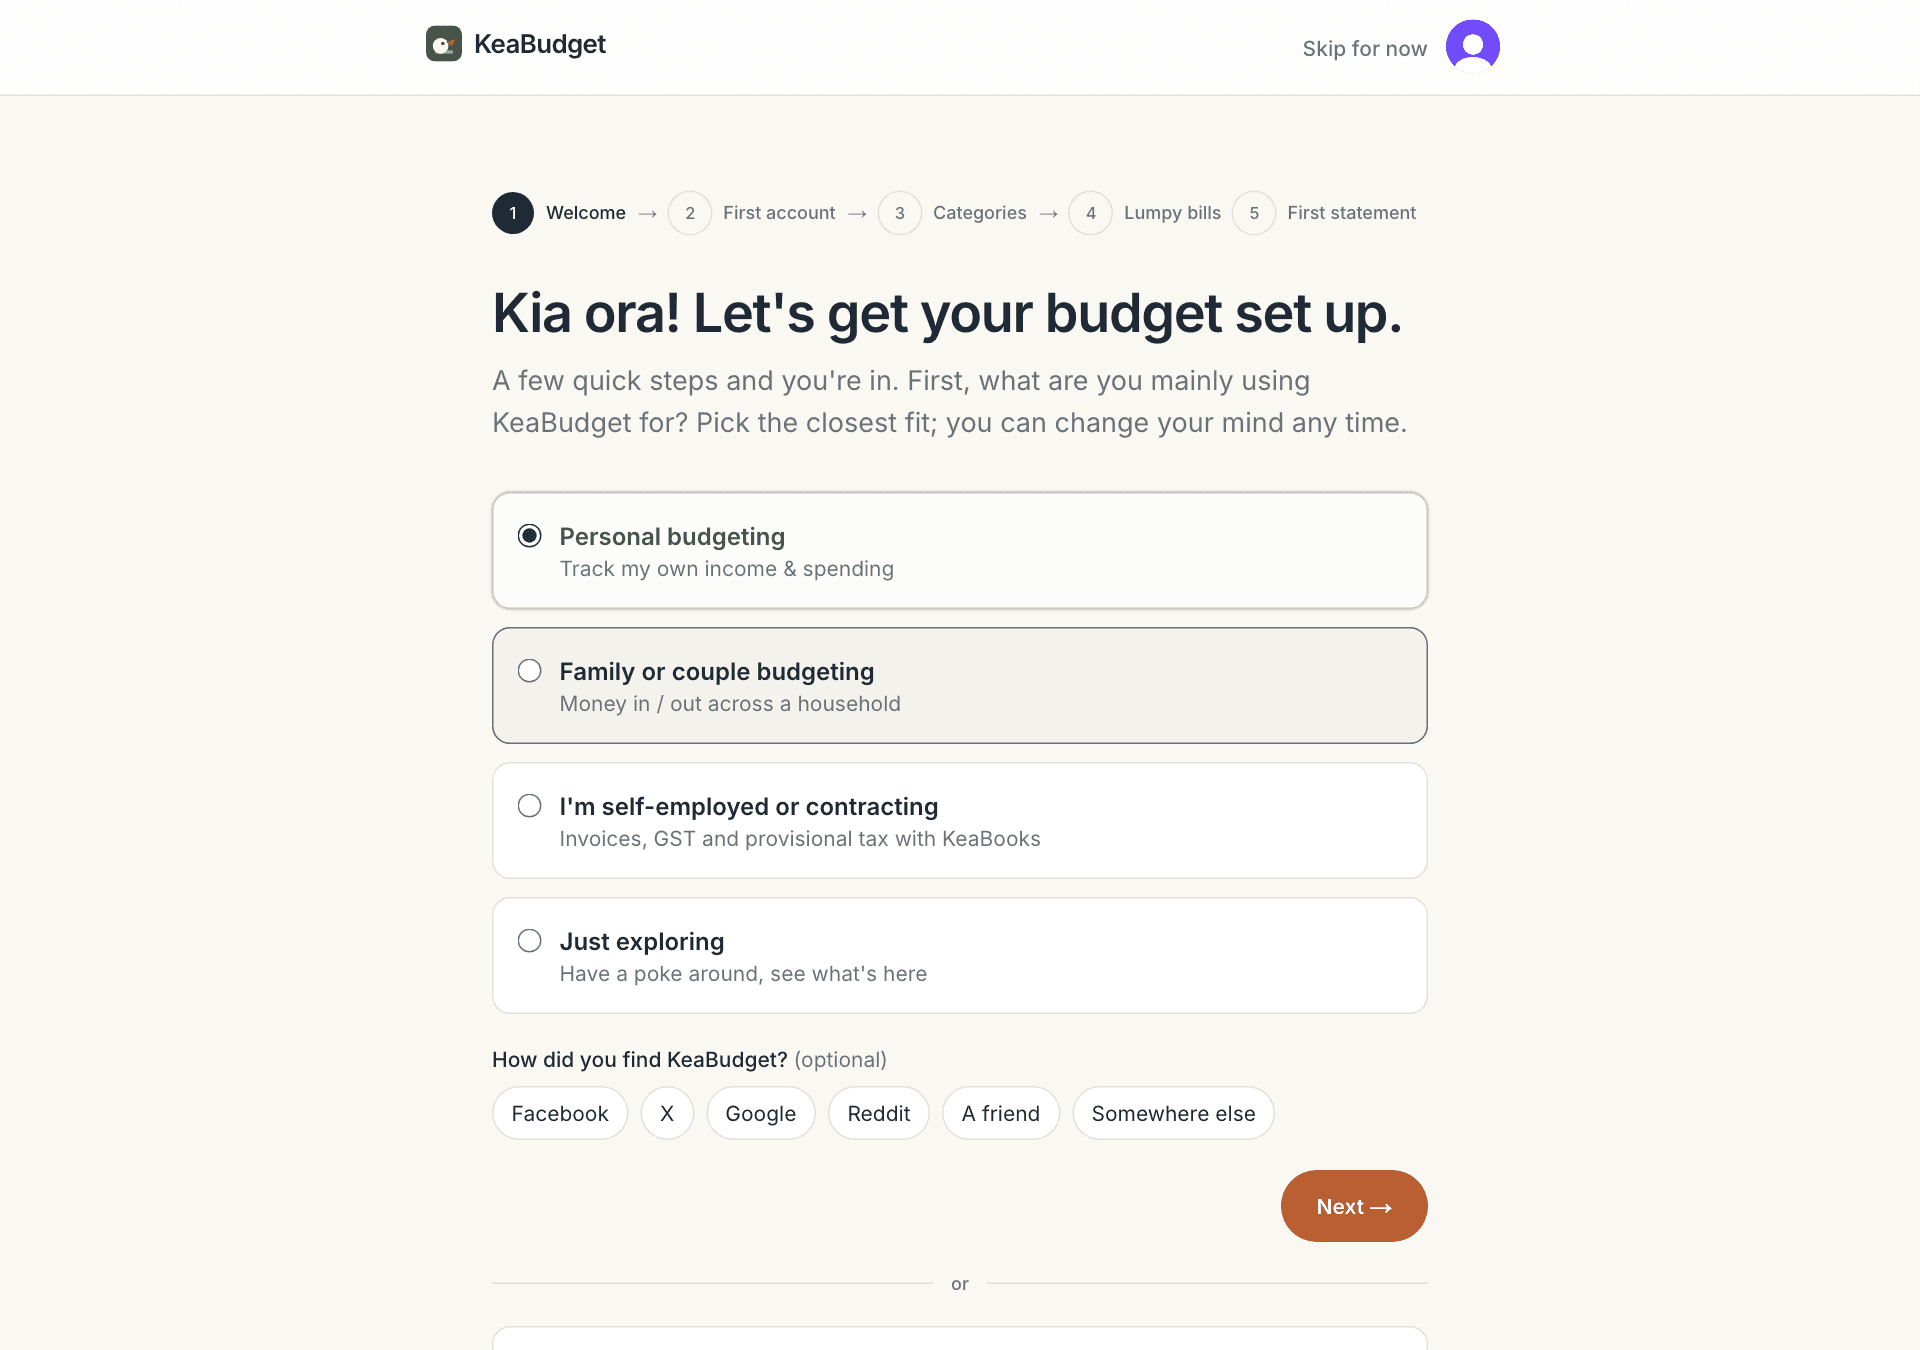
Tell us what you're using KeaBudget for
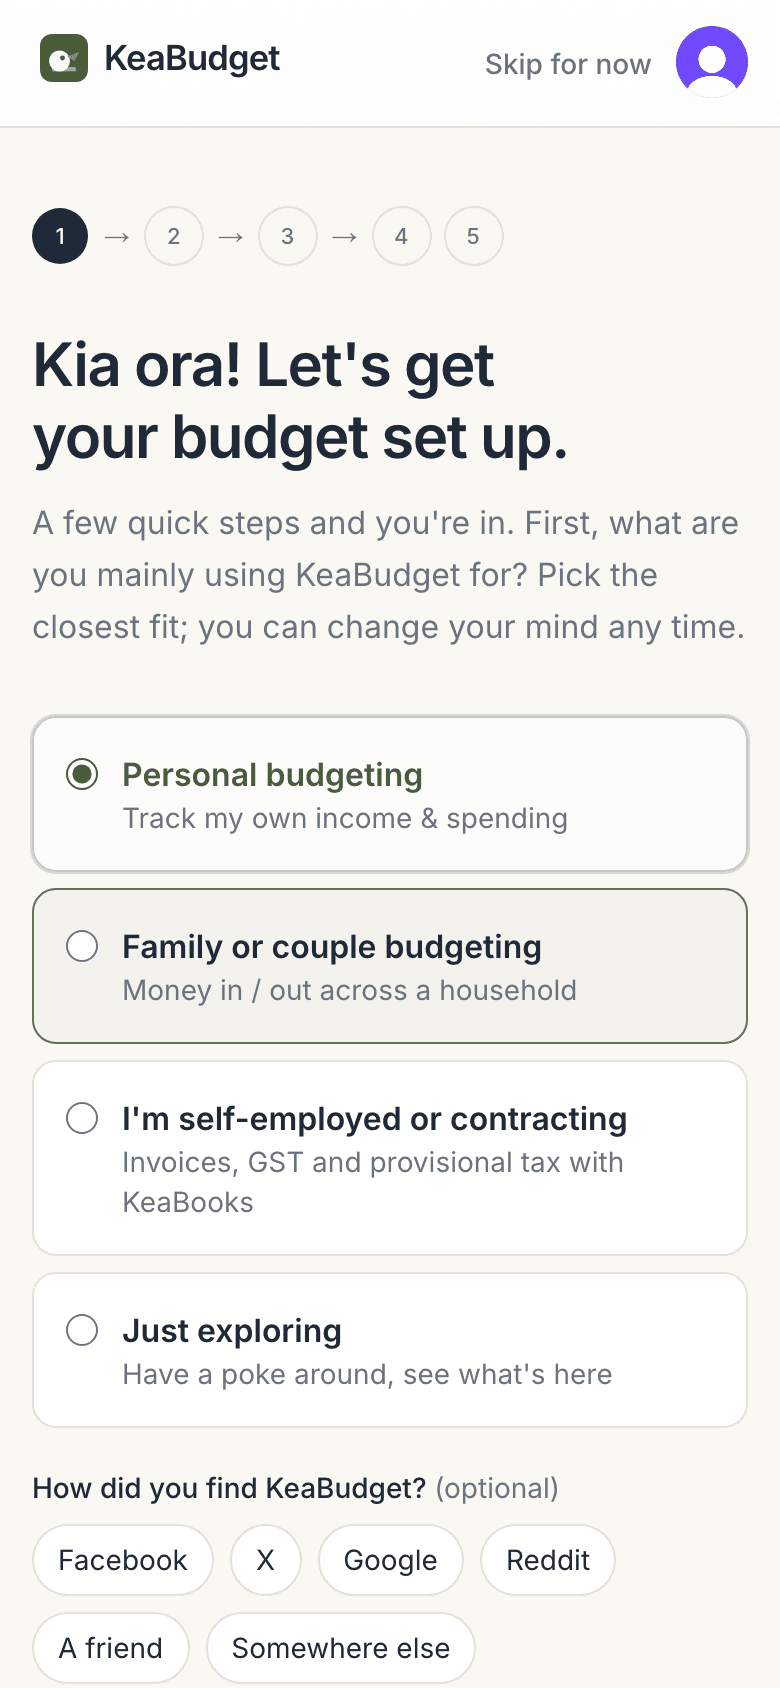
Pick the closest fit: Personal budgeting, Family or couple budgeting, I'm self-employed or contracting or Just exploring. It only changes what we show you first, and you can change your mind any time.
How did you find KeaBudget? is optional. Tap Next → to carry on.
Add your first account
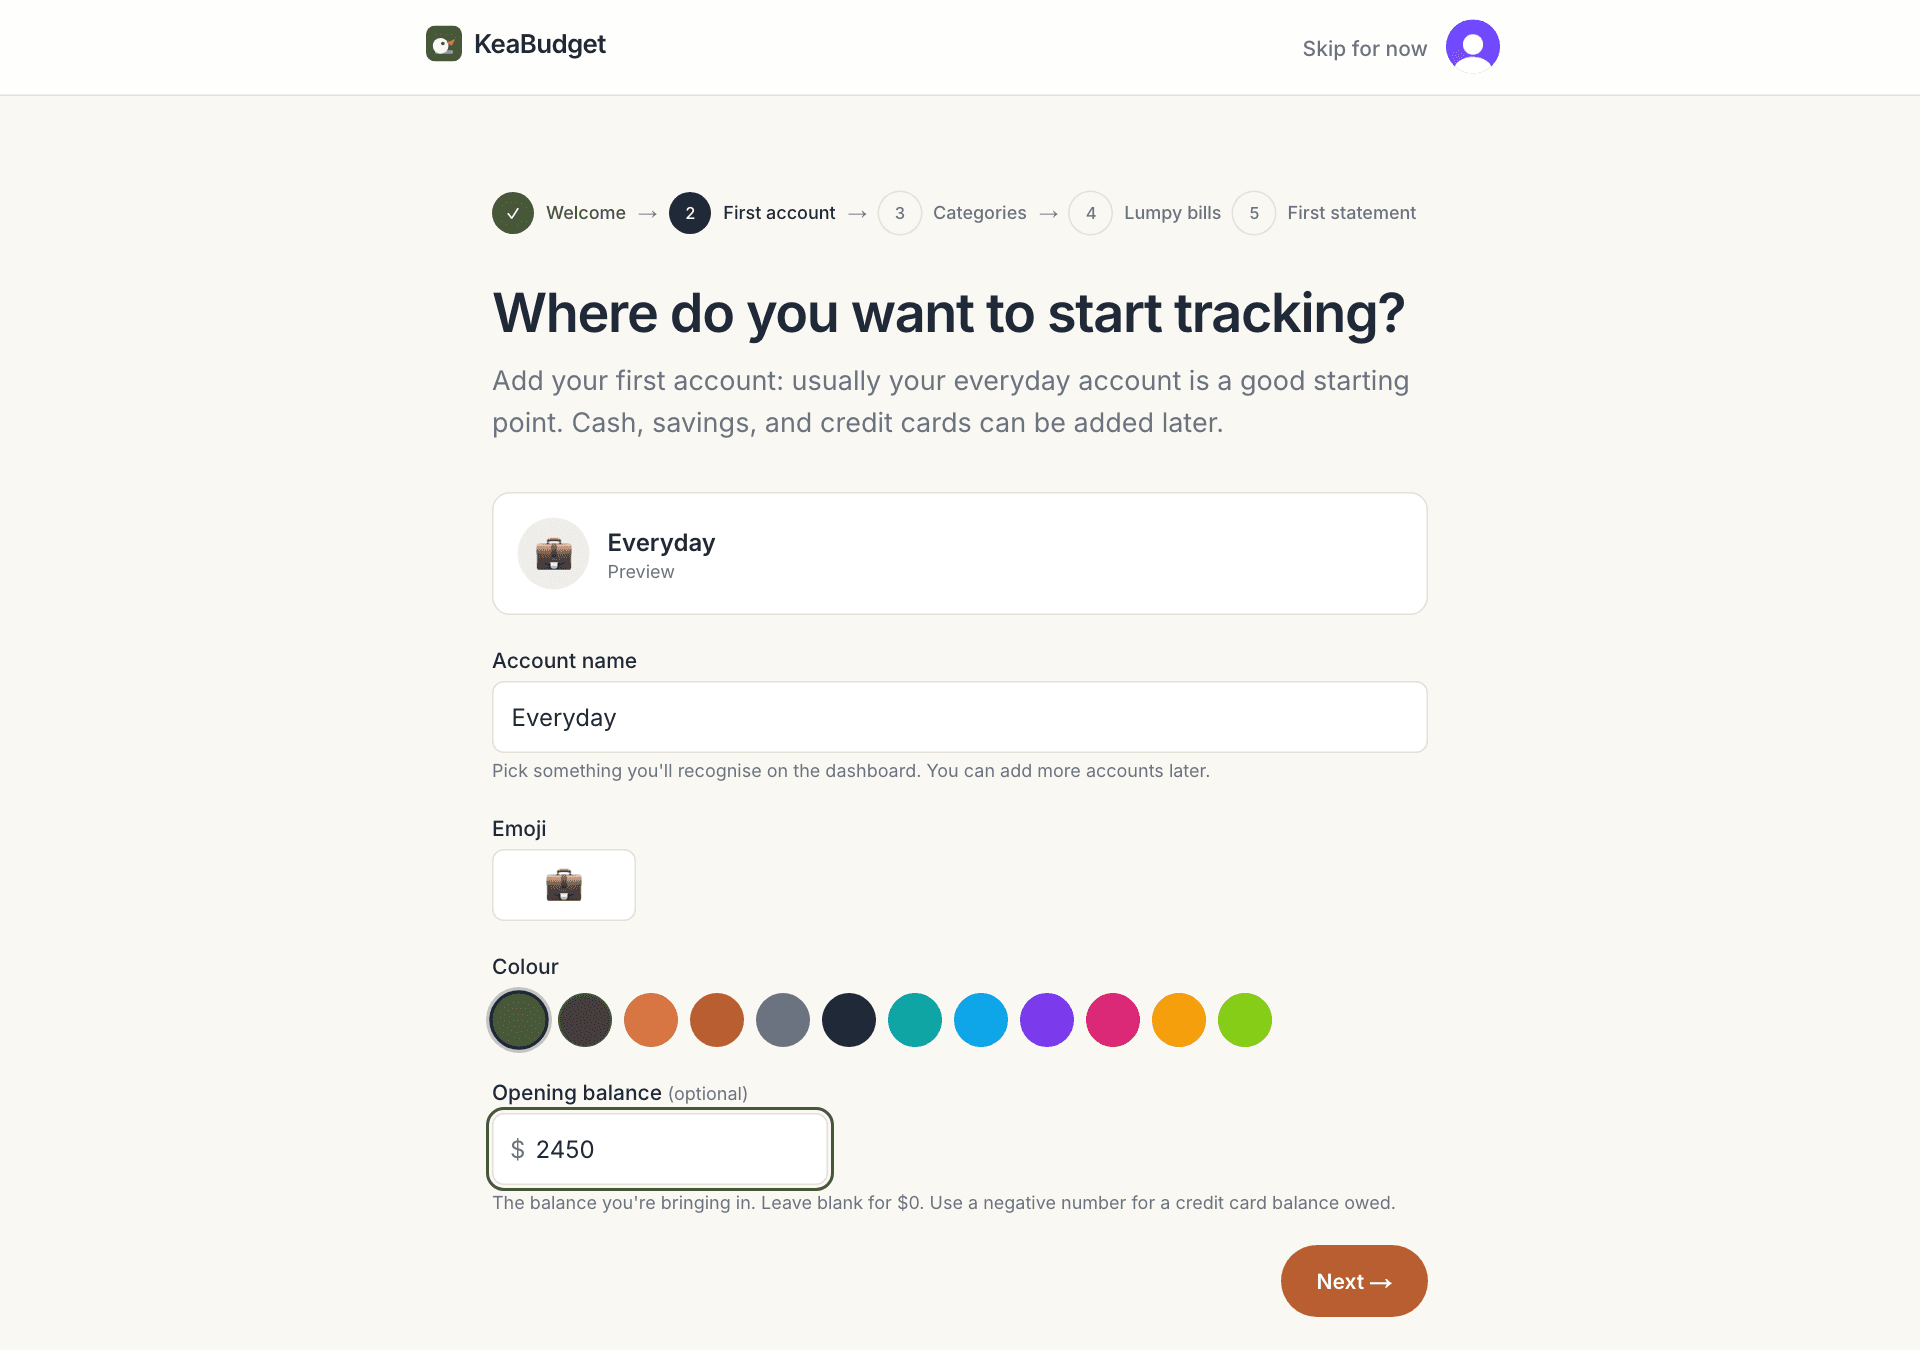
Start with the account your pay goes into and most spending comes out of.
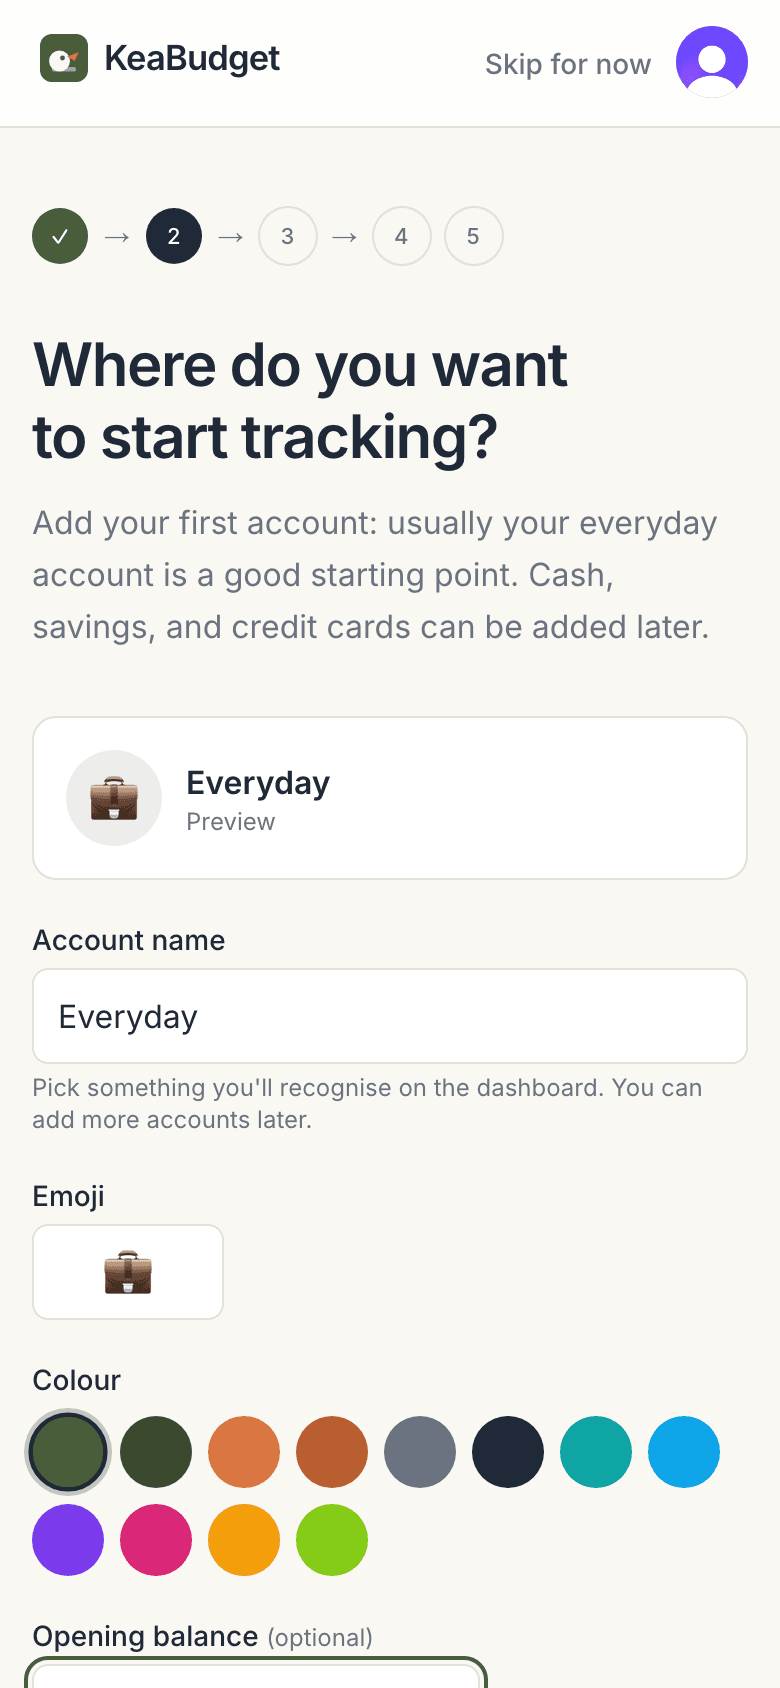
- Account name: something you'll recognise, for example "Everyday".
- Emoji and Colour: optional. They help you tell accounts apart on the dashboard.
- Opening balance (optional): what's in the account today. Leave it blank for $0.
- Tap Next →.
Savings, cash and credit cards can wait. Add them later from Accounts. For a credit card, enter what you owe as a negative number.
Pick your categories
Categories are how KeaBudget groups your spending, for example Groceries, Rent and Petrol. Everything that's usually relevant for a Kiwi household is already ticked.
Untick anything that doesn't apply to you, then tap Next: lumpy bills →. If you're not sure, leave it ticked: an unused category costs nothing.
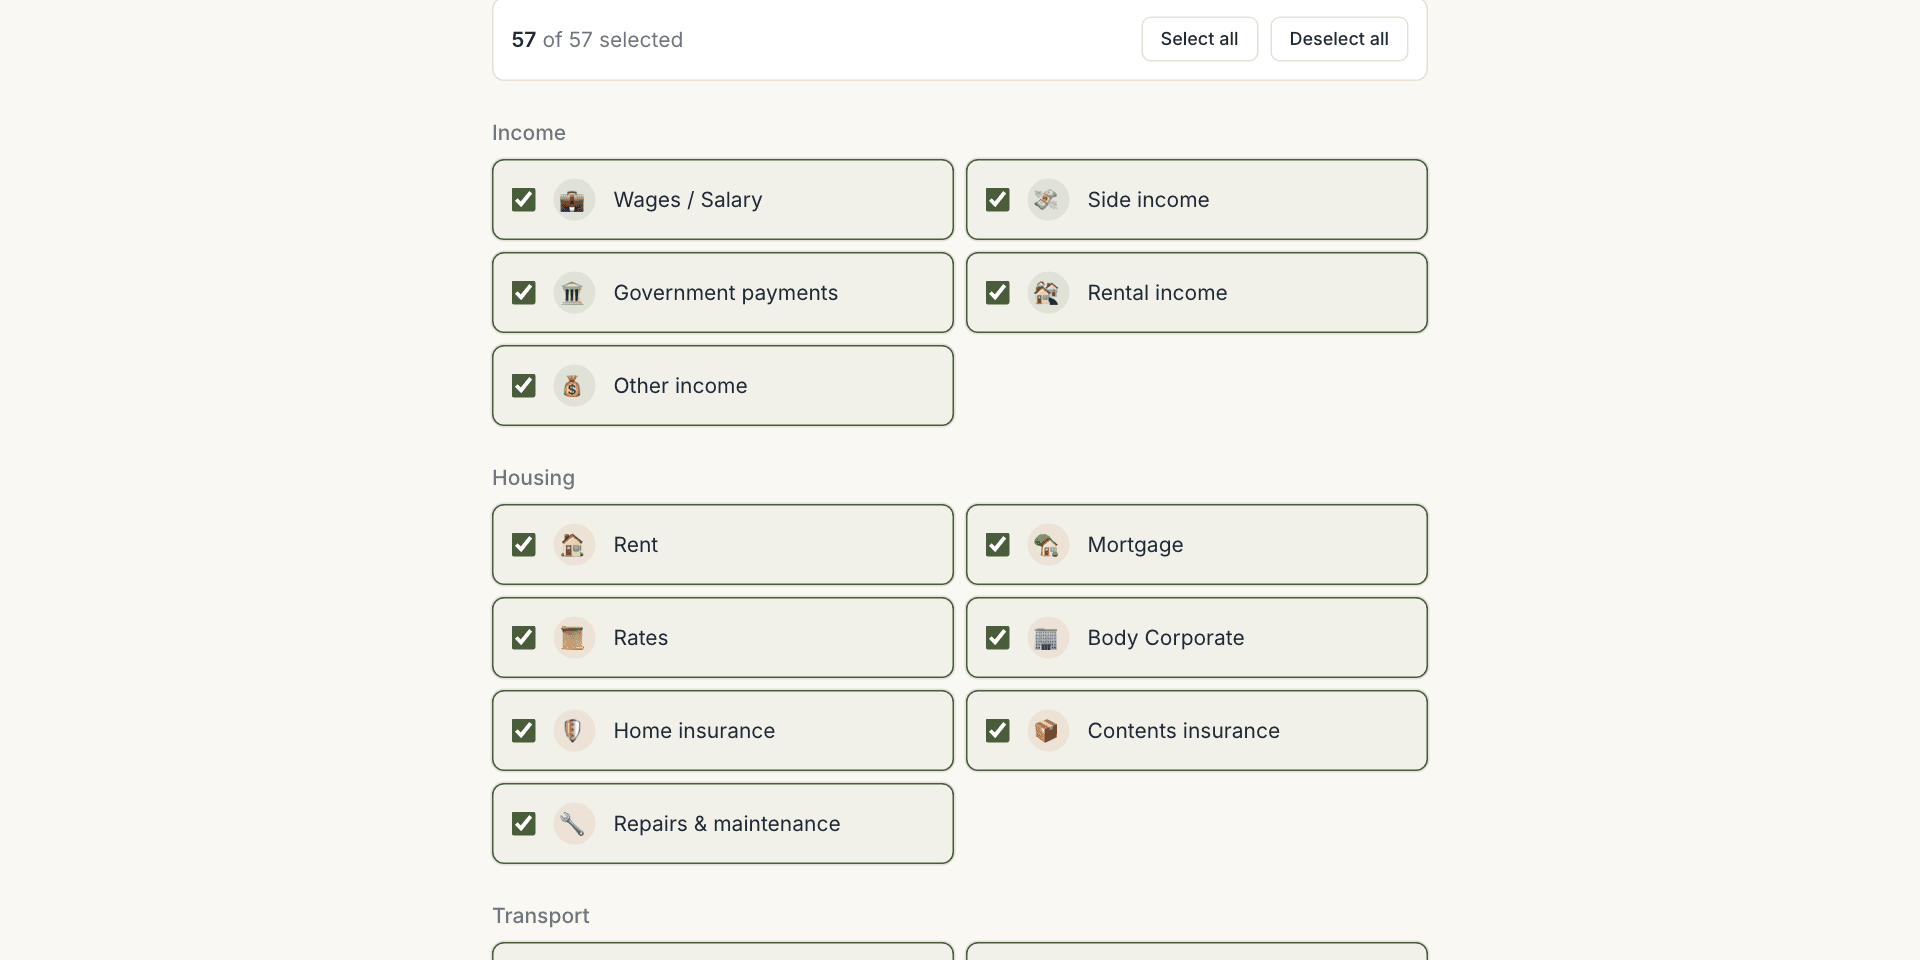
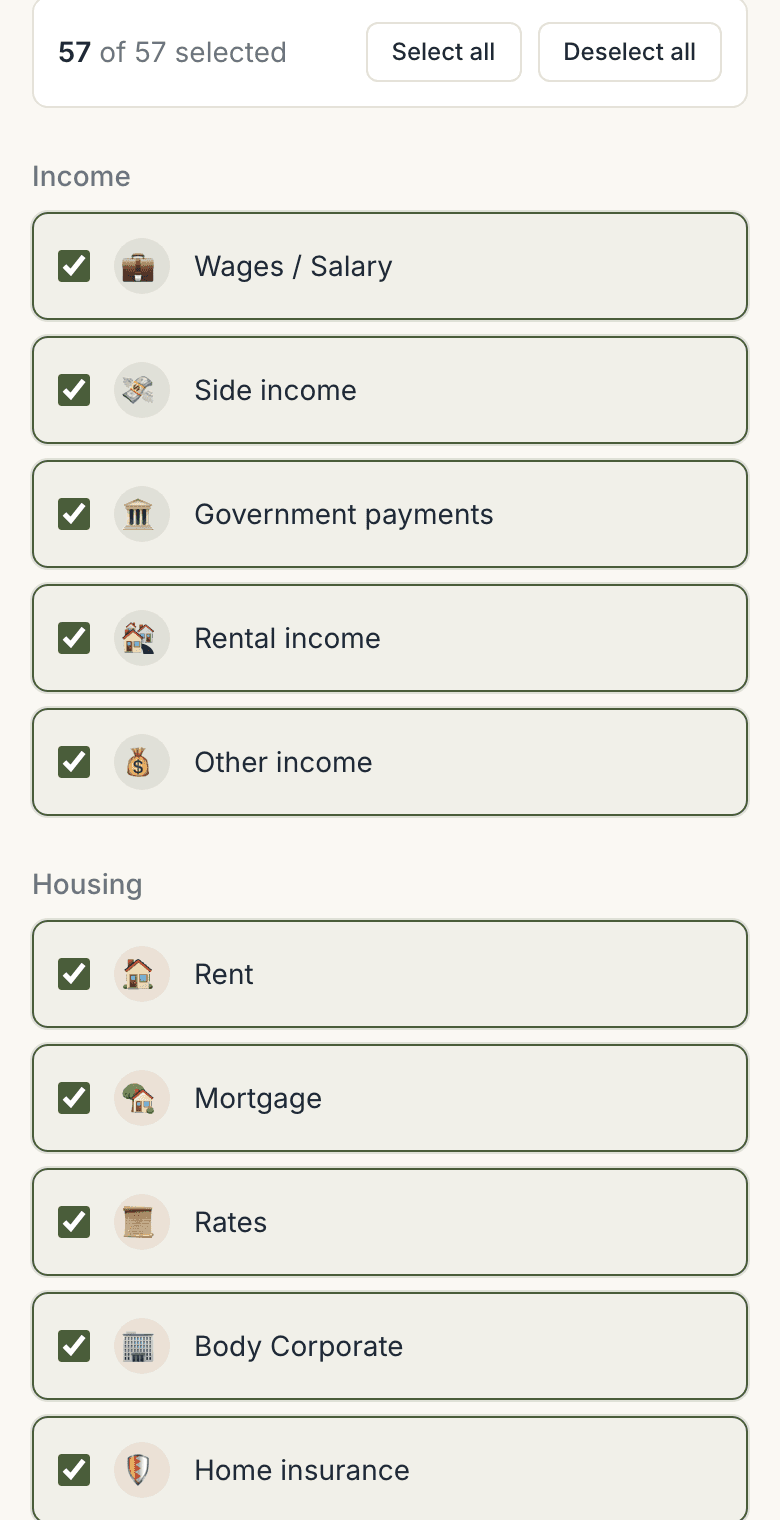
You can add, rename or remove categories any time from Categories in the menu.
Catch the bills that ambush you
This step is about the big once-a-year bills that blow up a budget when they land: rego, WOF, rates, insurance. KeaBudget works out how much to put aside each pay so they're covered.
- How often are you paid? Weekly, Fortnightly or Monthly.
- When is your next payday? (optional) A recent payday works too. With a payday, your dashboard and budgets run from pay to pay instead of by calendar month. Then How much is that pay, after tax? (optional): add it and KeaBudget counts your pay in safe to spend. Paid from more than one job? Add the others after setup, in Budgets under Your pays.
- Tick the bills you pay. Each one opens an amount and a next due date. The amounts are rough NZ averages, so change them to match your own bills.
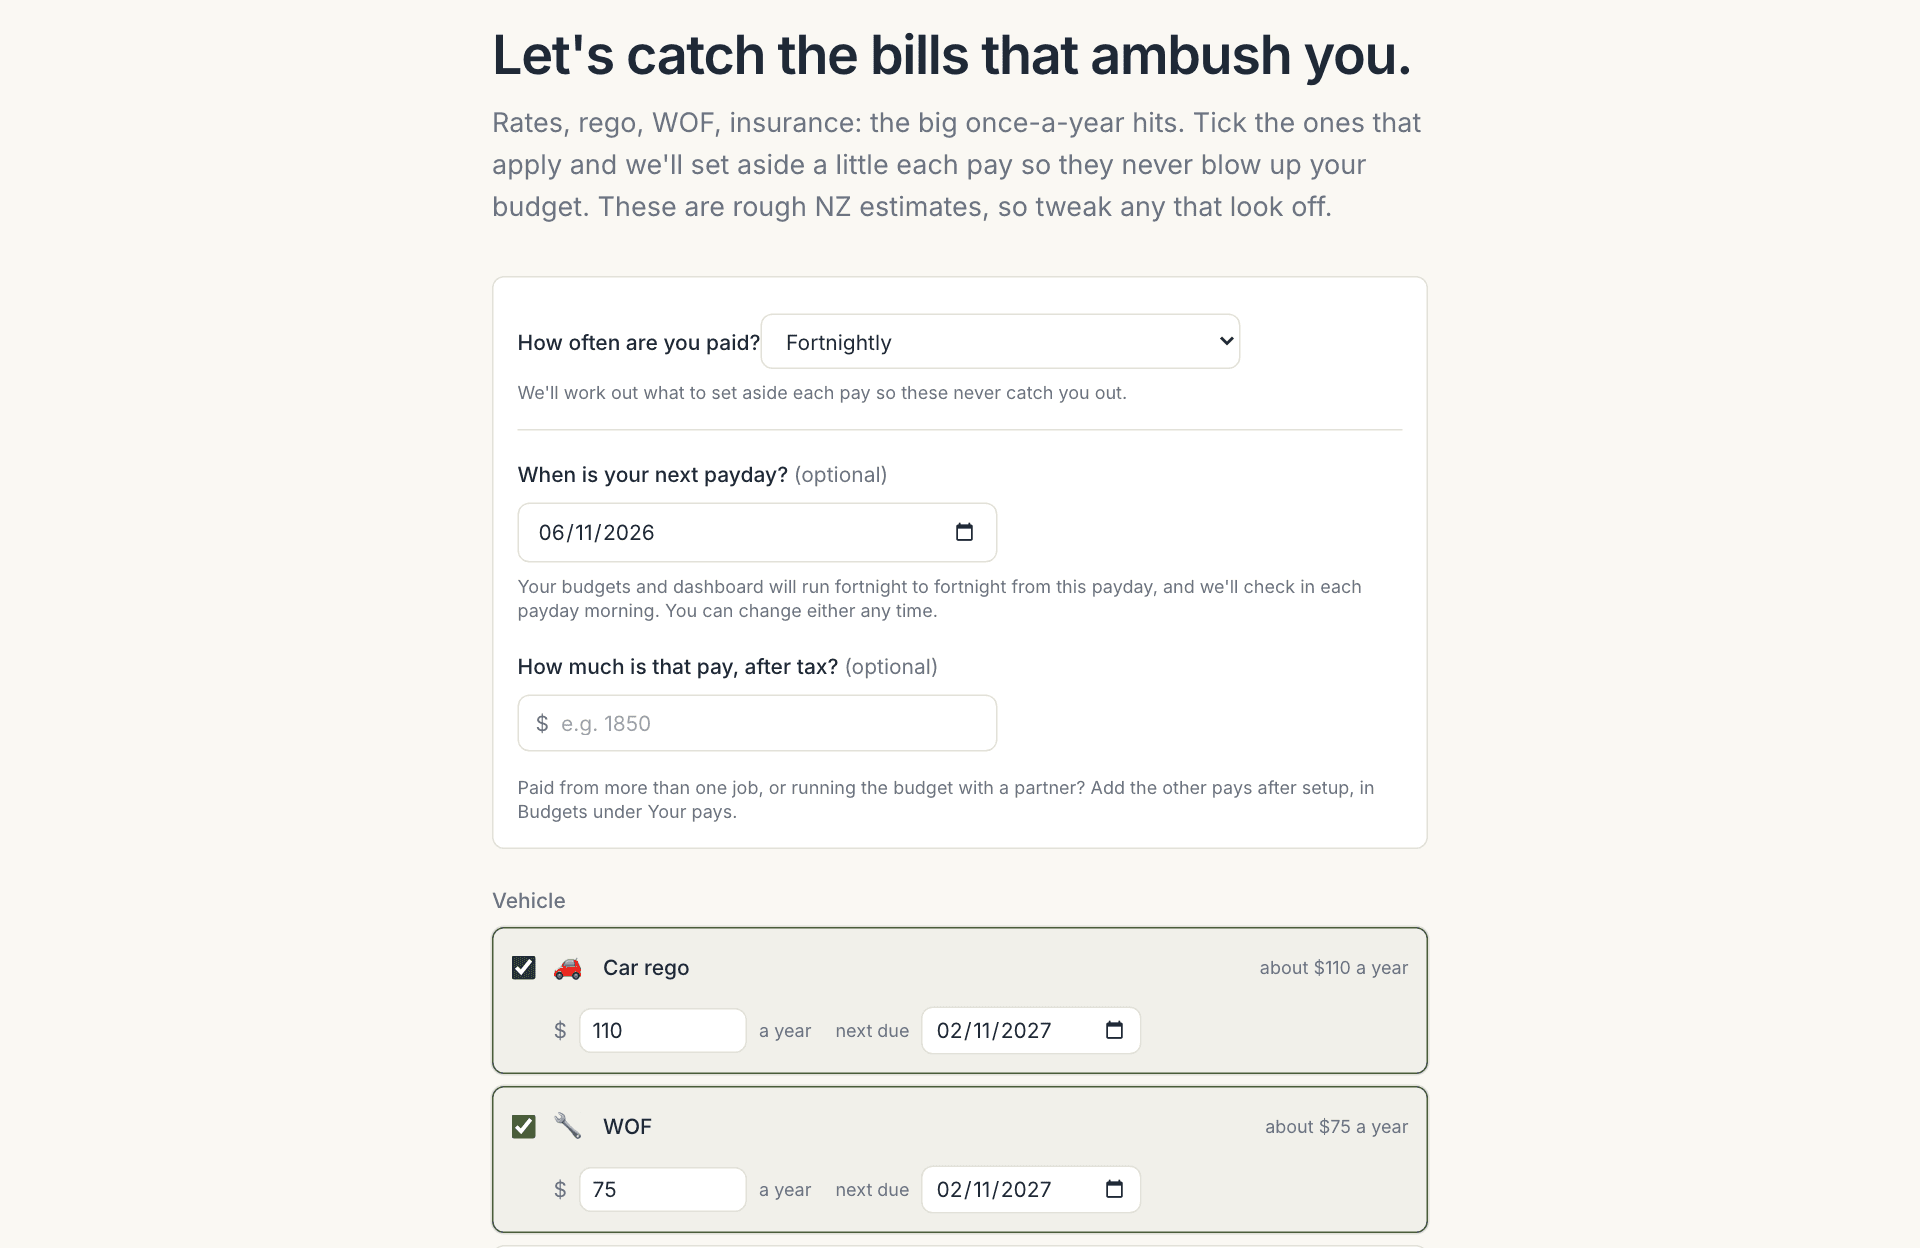
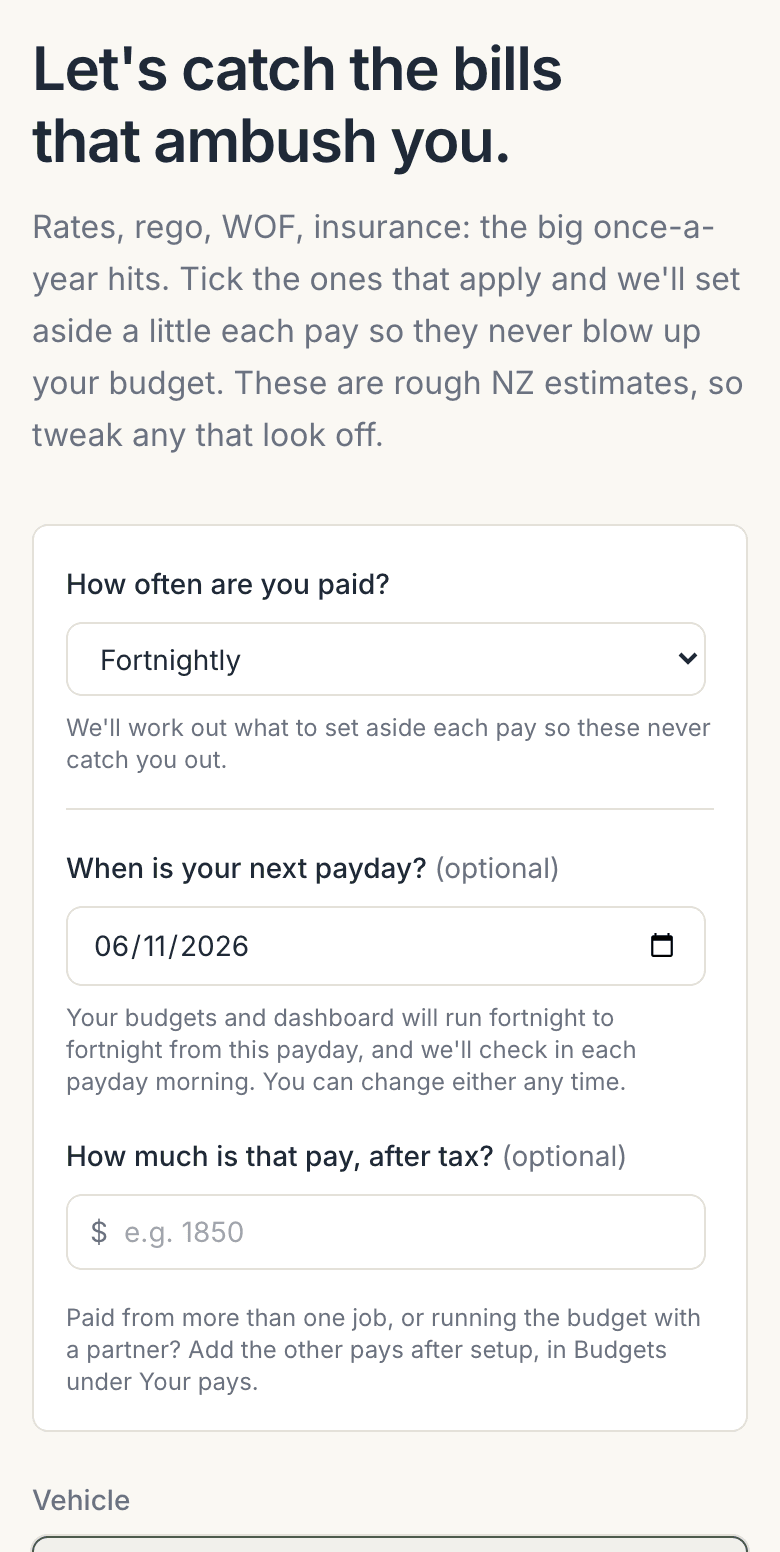
Underneath, KeaBudget adds them up and tells you what to put aside each pay:

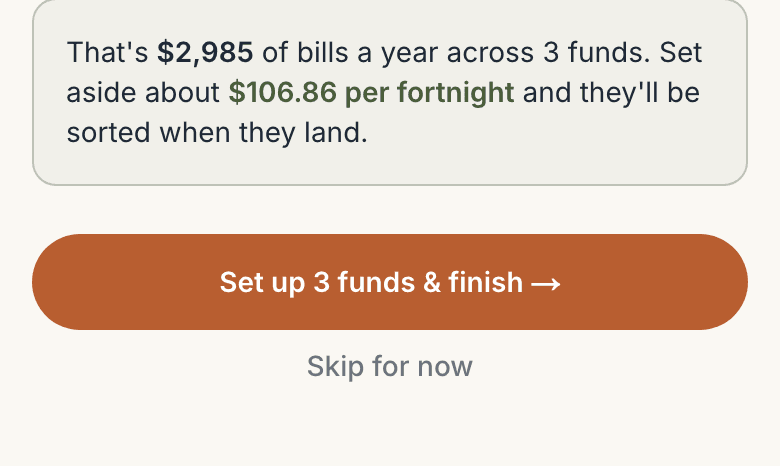
Tap Set up 3 funds & finish → (the number matches what you ticked) to go to the last step. Skip for now under the button keeps your pay details and skips the bills. You can add them later from Goals, with + Add common NZ bills.
Bring in your first bank statement
The last step brings your real spending in, so the dashboard means something from the first minute.
- Download the last month or two from your bank as a CSV file. How do I get a CSV out of my bank? on this screen shows you where.
- Drop the file in, check the preview, and tap Import.
- Tap See my dashboard →.
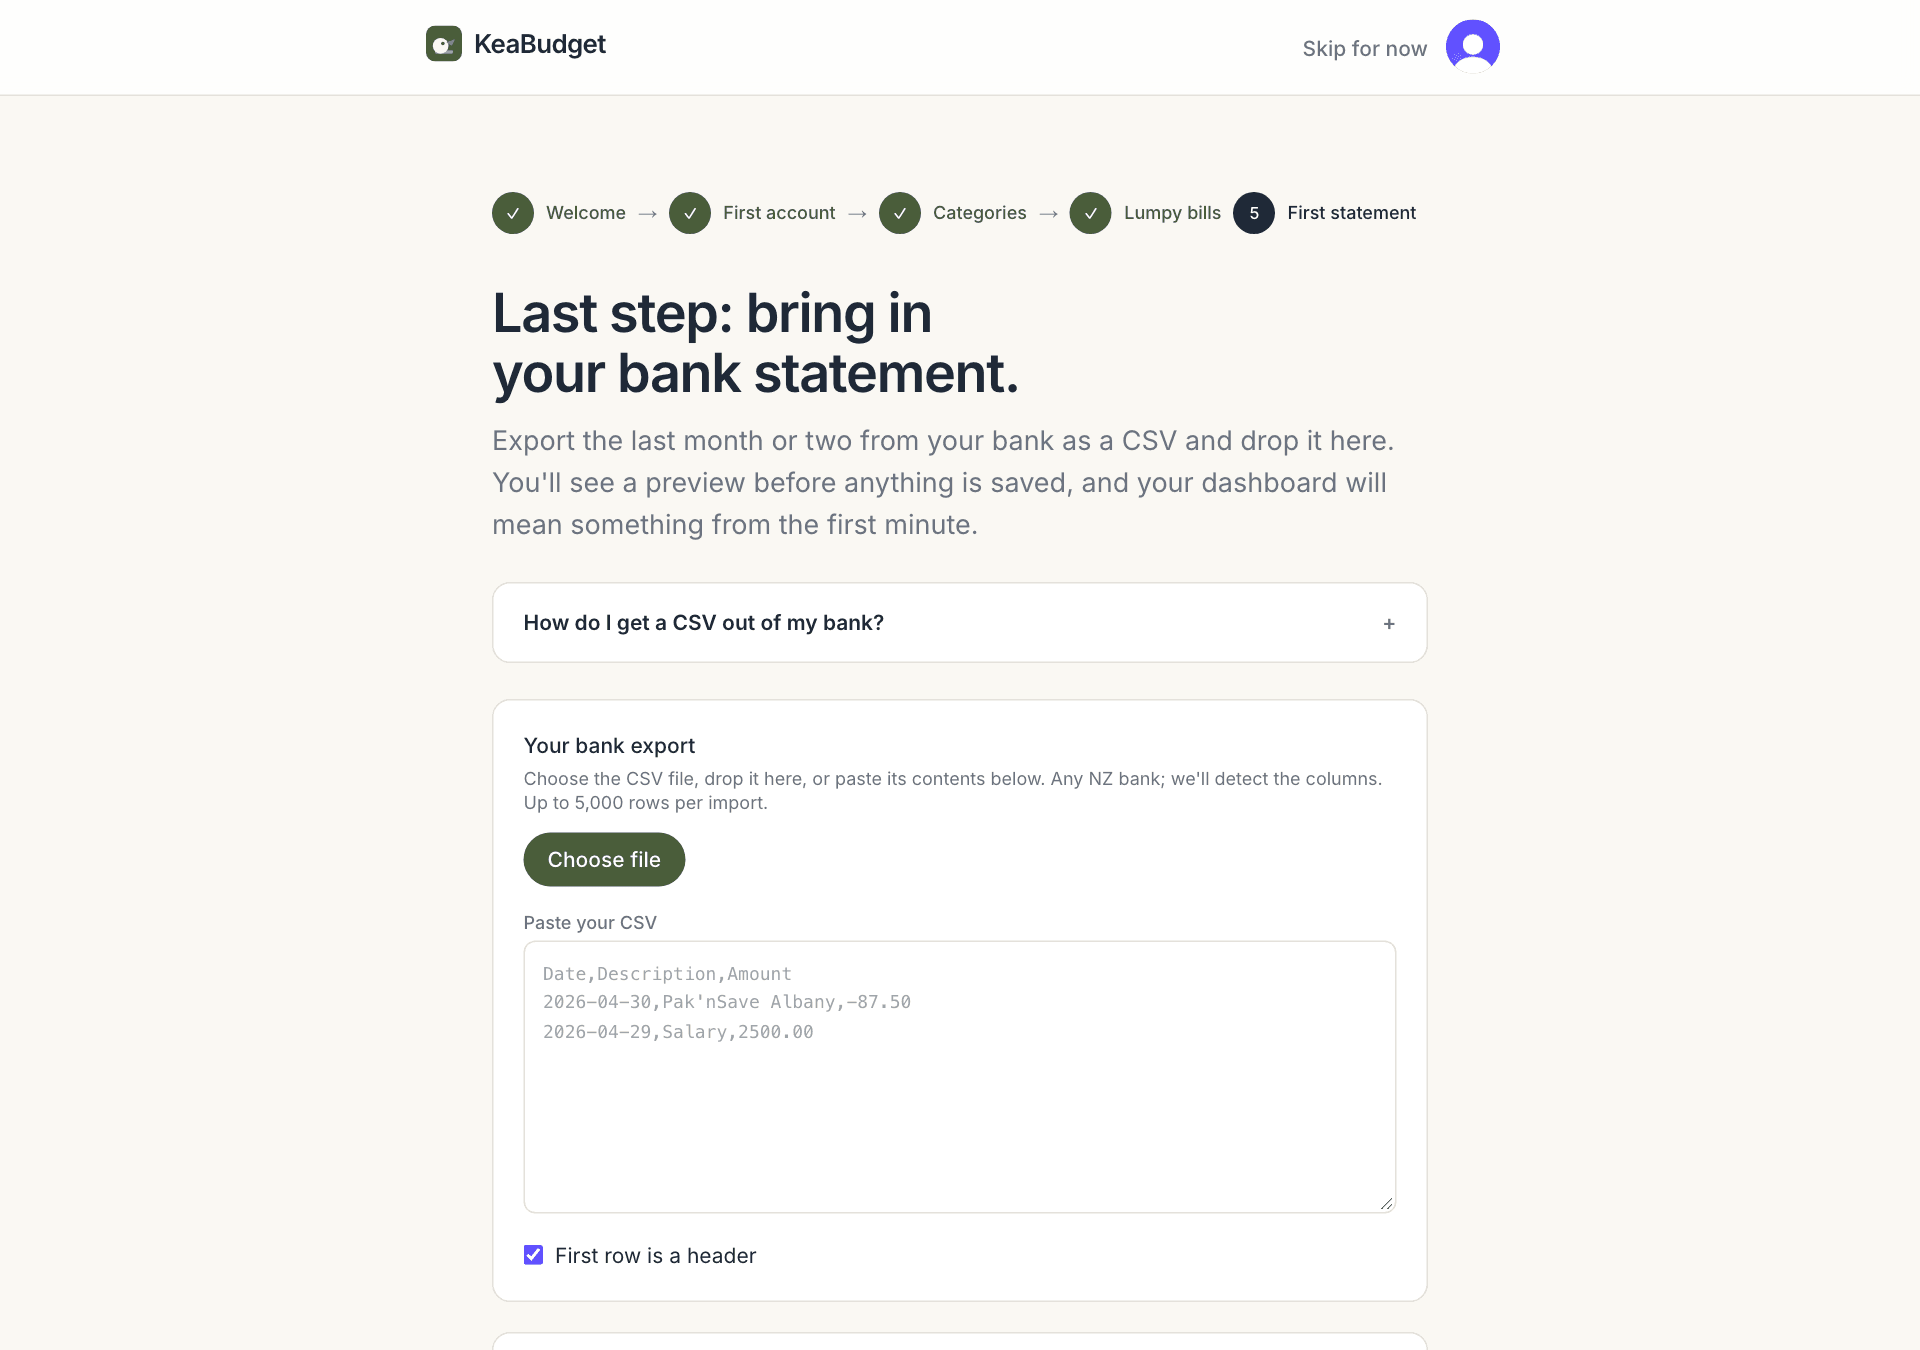
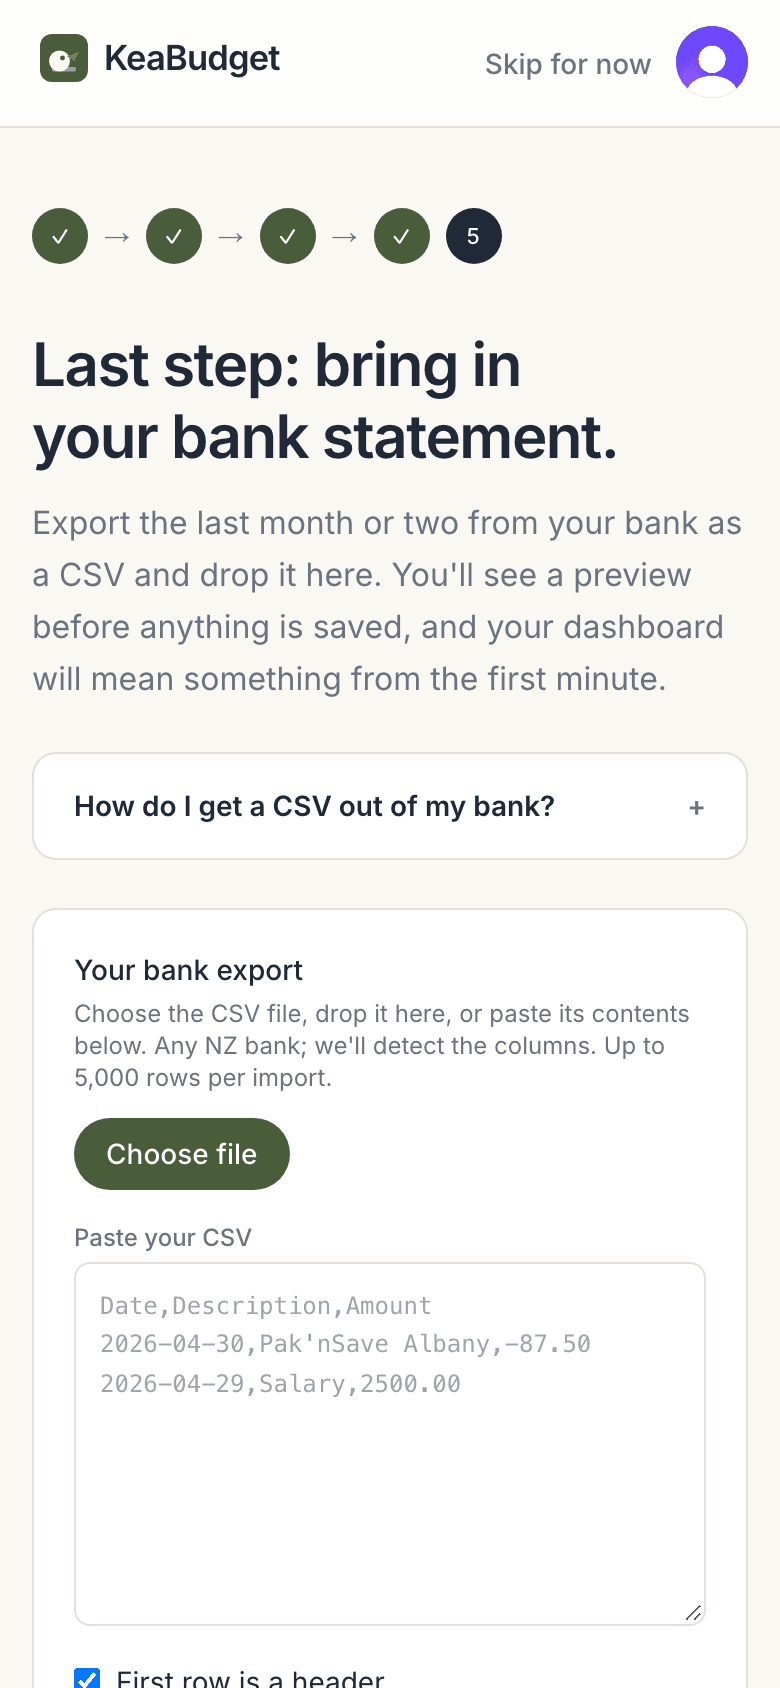
The full walk-through, with every screen, is in How to import your bank's CSV.
No export handy? Use Skip for now at the top right. You can import any time from Import in the menu.
Worth knowing
- Skip for now (top right) works on every step. It sets you up with all the usual categories and one account, then takes you to the dashboard. It doesn't add bills or a payday, so set those later.
- Setup only runs once. After you finish, you change things from the regular pages:
| To change | Go to |
|---|---|
| Accounts and opening balances | Accounts |
| Categories | Categories |
| Your pays, how often, and your payday | Budgets, under Your pays |
| Big yearly bills | Goals, then + Add common NZ bills |
| Bringing in a statement | Import |
Next
- What your safe-to-spend number means, the number at the top of your dashboard.
- Set up your recurring bills and income, so rent, power and pay go in on their own.